Eliminate manual data entry
Save 100s of hours processing emails and updating systems - with the first AI Assistant for frontline operations.


Remove 80% of your team’s admin work
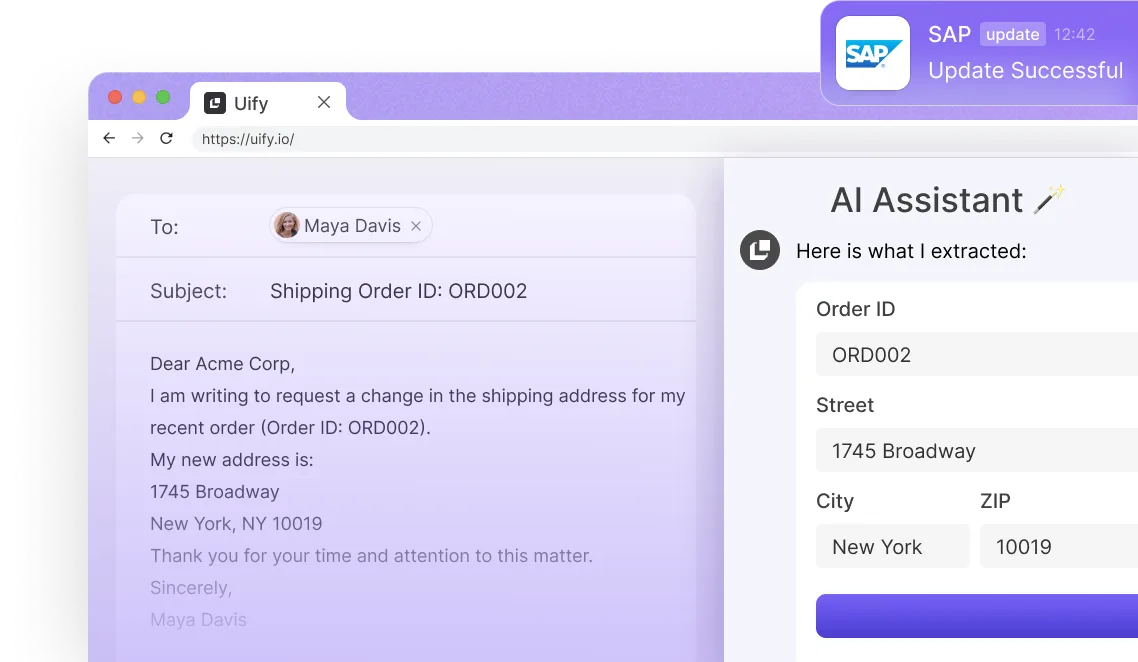
Process emails and attachments with AI
The AI Assistant runs right next to your inbox.
It understands email text as well as attached pdf documents, spreadsheets, or CSVs.
It understands email text as well as attached pdf documents, spreadsheets, or CSVs.
Instantly update your systems
The assistant adds new data to your systems and intelligently updates existing records.
It connects with all major ERPs, CRMs, and custom APIs or databases.
It connects with all major ERPs, CRMs, and custom APIs or databases.
Respond faster
Access context-relevant information from your datasources next to any email.
Let the AI assistant generate responses with a single click.
Let the AI assistant generate responses with a single click.

Say hi to your
AI Assistant
Book a demo with our solution experts today.
Empower your B2B operations


Empower your B2B operations
Procurement
Manage POs or delivery updates in seconds; update your ERP with one click.
Sales Support
Speed up your B2B order intake and send your order confirmations with a few clicks.
SCM & Logistics
Fetch shipment data, process customs docs and PODs, or update your cost calculations right from your inbox.
Turn your inbox into a productivity powerhouse
Intelligently process email text and attachments
Your AI Assistant has human-level understanding of your emails, including any attachments.

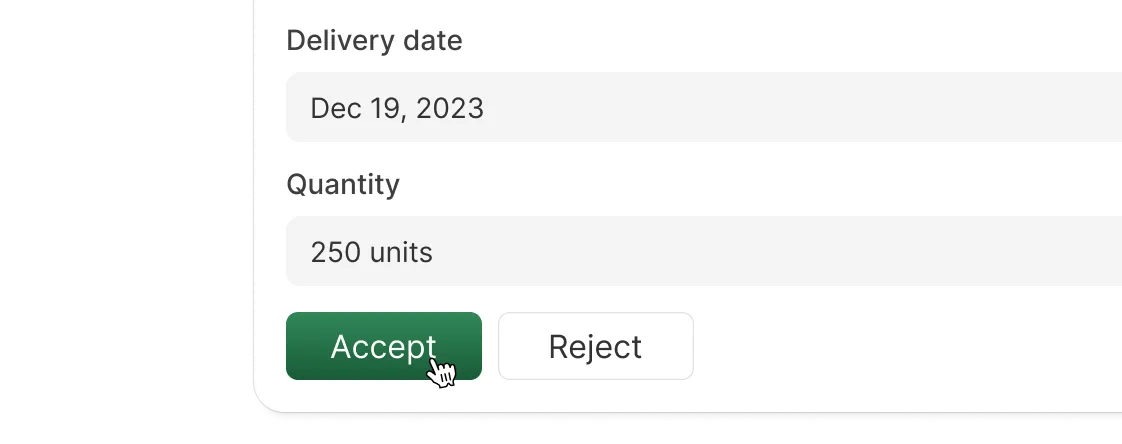

Stay in control
Use rule-based policies to enforce user confirmation for sensitive updates or decision-making.
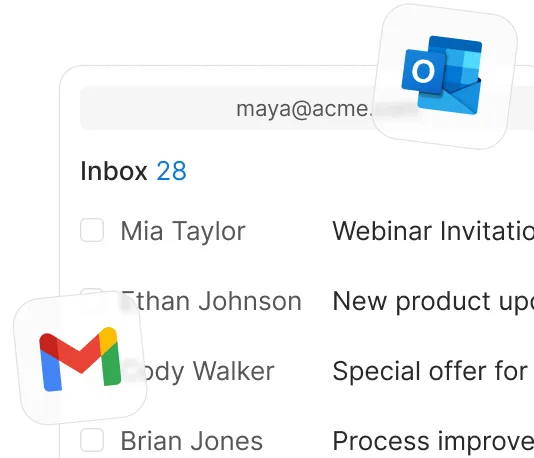
Gmail & Outlook support
We integrate with MS 365 Outlook, Gmail, or simply provide a forwarding address.


AI-generated smart replies
Generate tailored responses with a single click - including attachments.
Data security built in
We do not store any of your data, use 256 bit end-to-end encryption, and are GDPR compliant.


Connect your AI Assistant to your favourite tools
Easily connect the tools you already use like SAP, MS Dynamics 365, Salesforce, or your internal systems.
